This guide walks through the tutor workspace, from your first learner to a saved board. MomentDesk is for learners aged 14 and older; learners aged 14–17 can sign in after a parent or guardian confirms.
1. Check your time zone
Sign in as Tutor. During setup, choose the name your students will see and your time zone. You can also open the account menu to check or change your time zone later.
Use a city zone such as New York, which follows daylight-saving changes. Your student may see the same lesson in a different local time. Confirm the intended date, time and zone together before the session.
2. Add a student and subject
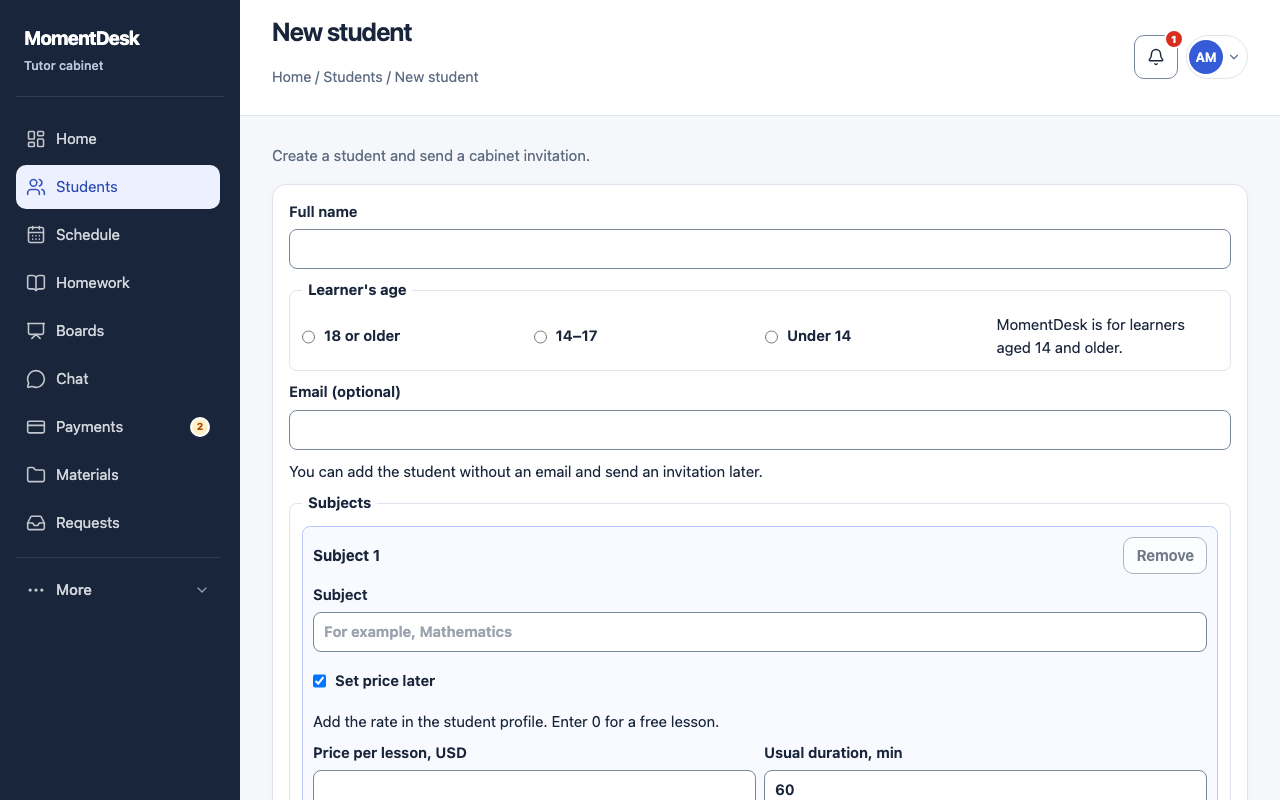
From Home, choose Add student. Enter the student’s name, age group, subject and usual duration. Email is optional. Learners aged 14–17 need a parent or guardian’s consent before they can sign in; learners under 14 cannot be added.
You can choose Set price later and add the rate in the student profile. Enter 0 for a free lesson. If the price is known, check the currency beside it before saving; changing an amount does not convert it to another currency.
Save the student. The subject’s rate and usual duration supply the defaults for new lessons. Review them again when scheduling; you can adjust an individual lesson separately. If the rate is still unset, set the price before accounting for a paid lesson.
3. Schedule one lesson
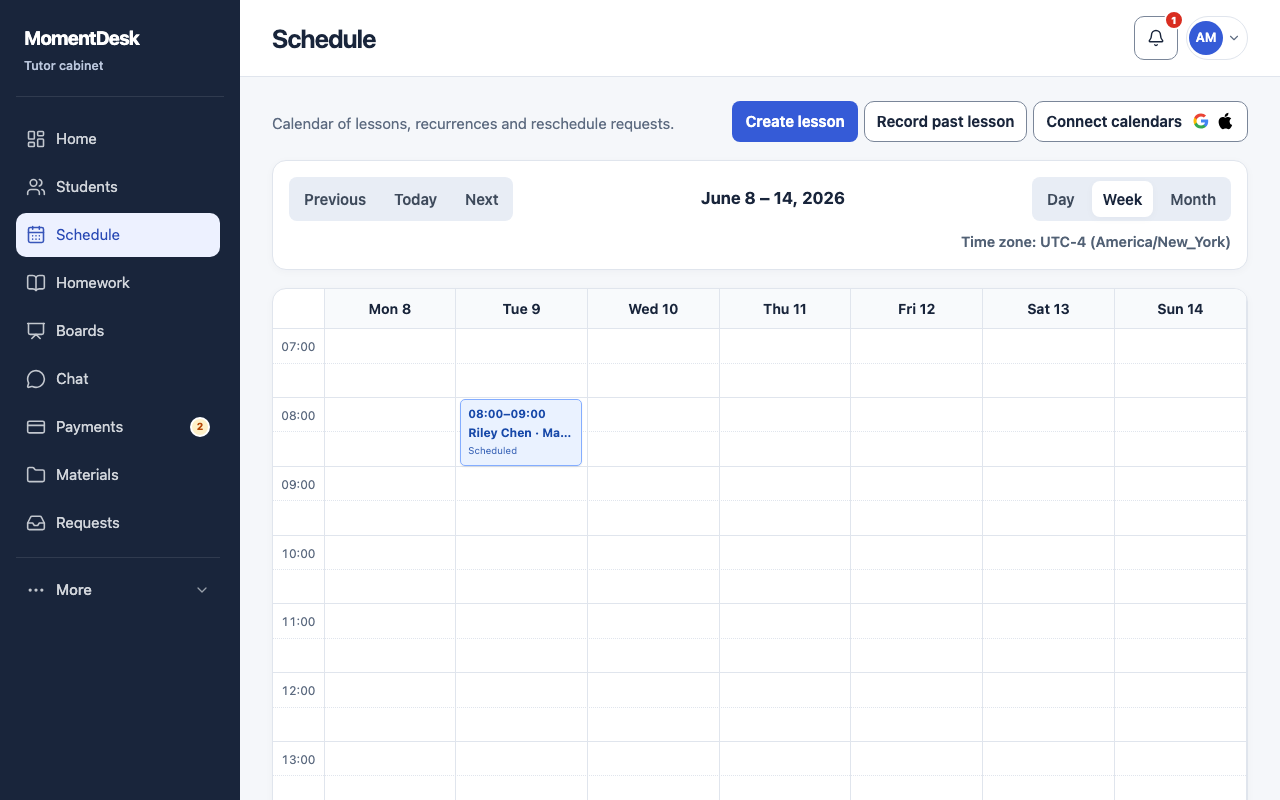
Open Schedule → Create lesson. Choose the student and subject, then check Date and time, Duration, minutes, Time zone and Price. Leave Repeat off for a single session. Save and confirm that the lesson appears on the calendar at the intended time.
4. Give the student access
In Students, find their row and choose Invite. Copy the personal sign-in link and share it privately with that student. They can also choose Student on the sign-in page and enter the displayed code. Keep both private: they open the student’s account.
Ask the student to confirm that they can see the correct lesson. Homework appears in their account automatically; you do not need to resend the invitation for every assignment.
5. Prepare the work and teach
Open the lesson from Schedule, then choose Open lesson workspace. Prepare a persistent board from Boards for the student’s subject, and keep the materials you need ready. After editing, let the board save and reopen it to check your work.
Open your chat with the student and choose Call to start an audio or video call. Both participants need to allow microphone or camera access when their browsers ask. Check the connection before the lesson. You can also agree a link for your usual meeting service; chat and the whiteboard stay available alongside it.
6. Record what happened and plan the next step
After teaching, open the lesson and choose Complete. If it did not take place, use the appropriate cancellation or rescheduling action instead. A calendar entry alone does not mean a lesson was taught.
Add practice through Homework, set a clear deadline and review the student’s submission when it arrives. The student homework guide explains submission and feedback.
Record money you have actually received through your usual payment method in Payments, using the correct currency. Completing a lesson does not transfer money. Lesson records are separate from your MomentDesk service subscription.
Agree the next lesson while the work is fresh. You can schedule another single session or use Repeat for a regular slot, checking its time zone and end date before saving.
If something is missing
- The lesson time looks wrong: compare the zone above each person’s calendar before changing the lesson itself.
- The student cannot find their work: confirm that they opened the correct personal link and tutor context.
- The price is wrong: check the subject rate and the individual lesson price; do not overwrite a different currency as if it were a conversion.
- You need a copy of your records: follow the export and import guide.
For an account problem, contact MomentDesk support with the page, your role and the error. Do not include sign-in codes, passwords or private learner records.